Streamline product team collaboration with Aha! Whiteboards.
30 expert tips for using virtual whiteboards


Do you think in words or pictures? People's initial thoughts often start as verbal or visual depending on what they are thinking about. Studies have found that most people favor one over the other — and that it can be tough to switch modes. Regardless of which way you gravitate, there are some simple ways to enhance how you share information.
With a few easy tips, jumping into a visual tool like a whiteboard can feel as natural as starting a conversation.
Product managers are expert communicators. Between customer interviews, team meetings, and stakeholder presentations, you handle important conversations regularly. This shows up in your ability to define feature requirements and write clear product documentation. Sharing plans? You build a release roadmap or product dashboard. Now, what about a mockup or diagram on a whiteboard? This is where some folks hesitate — particularly if you are not familiar with whiteboarding tools.
But it is easy to learn a new tool like Aha! Whiteboards. And getting going is highly rewarding once you shape and share concepts in ways that words alone cannot.
Aha! Whiteboards can do much more for product managers than sticky note-based brainstorming. There is a lot hiding under that blank canvas.
For example, let's consider feature prioritization. A ranked list of features works pretty well — we use the Prioritization page in Aha! Roadmaps often. But if we need to be more exploratory and less structured, pulling features onto a whiteboard and evaluating them on a matrix is really useful. The same goes for building a customer journey map or working through a complex decision. It is easier to make sense of complexity when relationships among parts are displayed visually.
Plus, once you get the hang of it, whiteboards are delightful to use. There is something so satisfying about seeing scattered shapes snap into place or smartly color-coding jobs to be done. This is why we keep adding new ways to interact with Aha! Whiteboards — we want you to be able to whiteboard things you had no idea you could.
Get the latest product news — sign up for the Aha! newsletter.
In that spirit, we rounded up our favorite whiteboarding tips. Many of them are small, but mighty — making your visuals more professional-looking and saving you a few clicks along the way. Jump ahead to discover something new:
Navigate
1. Zoom in and out on a whiteboard by holding Command or Control while scrolling.
2. No need to toggle over to the hand icon in the navigation toolbar — get around quickly by holding right-click or the space bar to pan.
3. Right-click, then select Copy link to object. This gives you a link that opens your whiteboard zoomed into that spot — perfect for when you have a ton of content on your board and need to pinpoint a specific shape or comment.
4. Frames are your friends. Create them to organize content, then quickly jump between them with the less than (<) and greater than (>) keys.
Keep things neat and navigable with frames on your whiteboard.
Accelerate
5. Auto-sticky your notes. Paste any text into empty space on a whiteboard, and it will automatically populate in a sticky note.
6. For faster duplication, select a shape or a sticky note, then hover your cursor over one of the dots along its border and click the + icon. (Command or Control + D also works.)
7. When you are short on time, try keyboard shortcuts.
8. Select multiple objects, then change their style or color all at once by editing in bulk. You can even filter which shapes you want to change in your selection.
9. Use a template. We have more than 100 of them.
10. Use more templates — you can insert the same one multiple times, or multiple different templates on the same whiteboard.
Right-click when you have multiple objects selected in Aha! Whiteboards to group or align them, bulk edit, and more.
Format
11. Link objects together with connectors — smooth, straight, angled, up to you. Everything will stay connected, even if you move them later.
12. For a quick way to organize work, insert a table. (Yes — a real, responsive table. Not just a bunch of rectangles.) Add rows and columns, merge cells, and change the dimensions until it is just right.
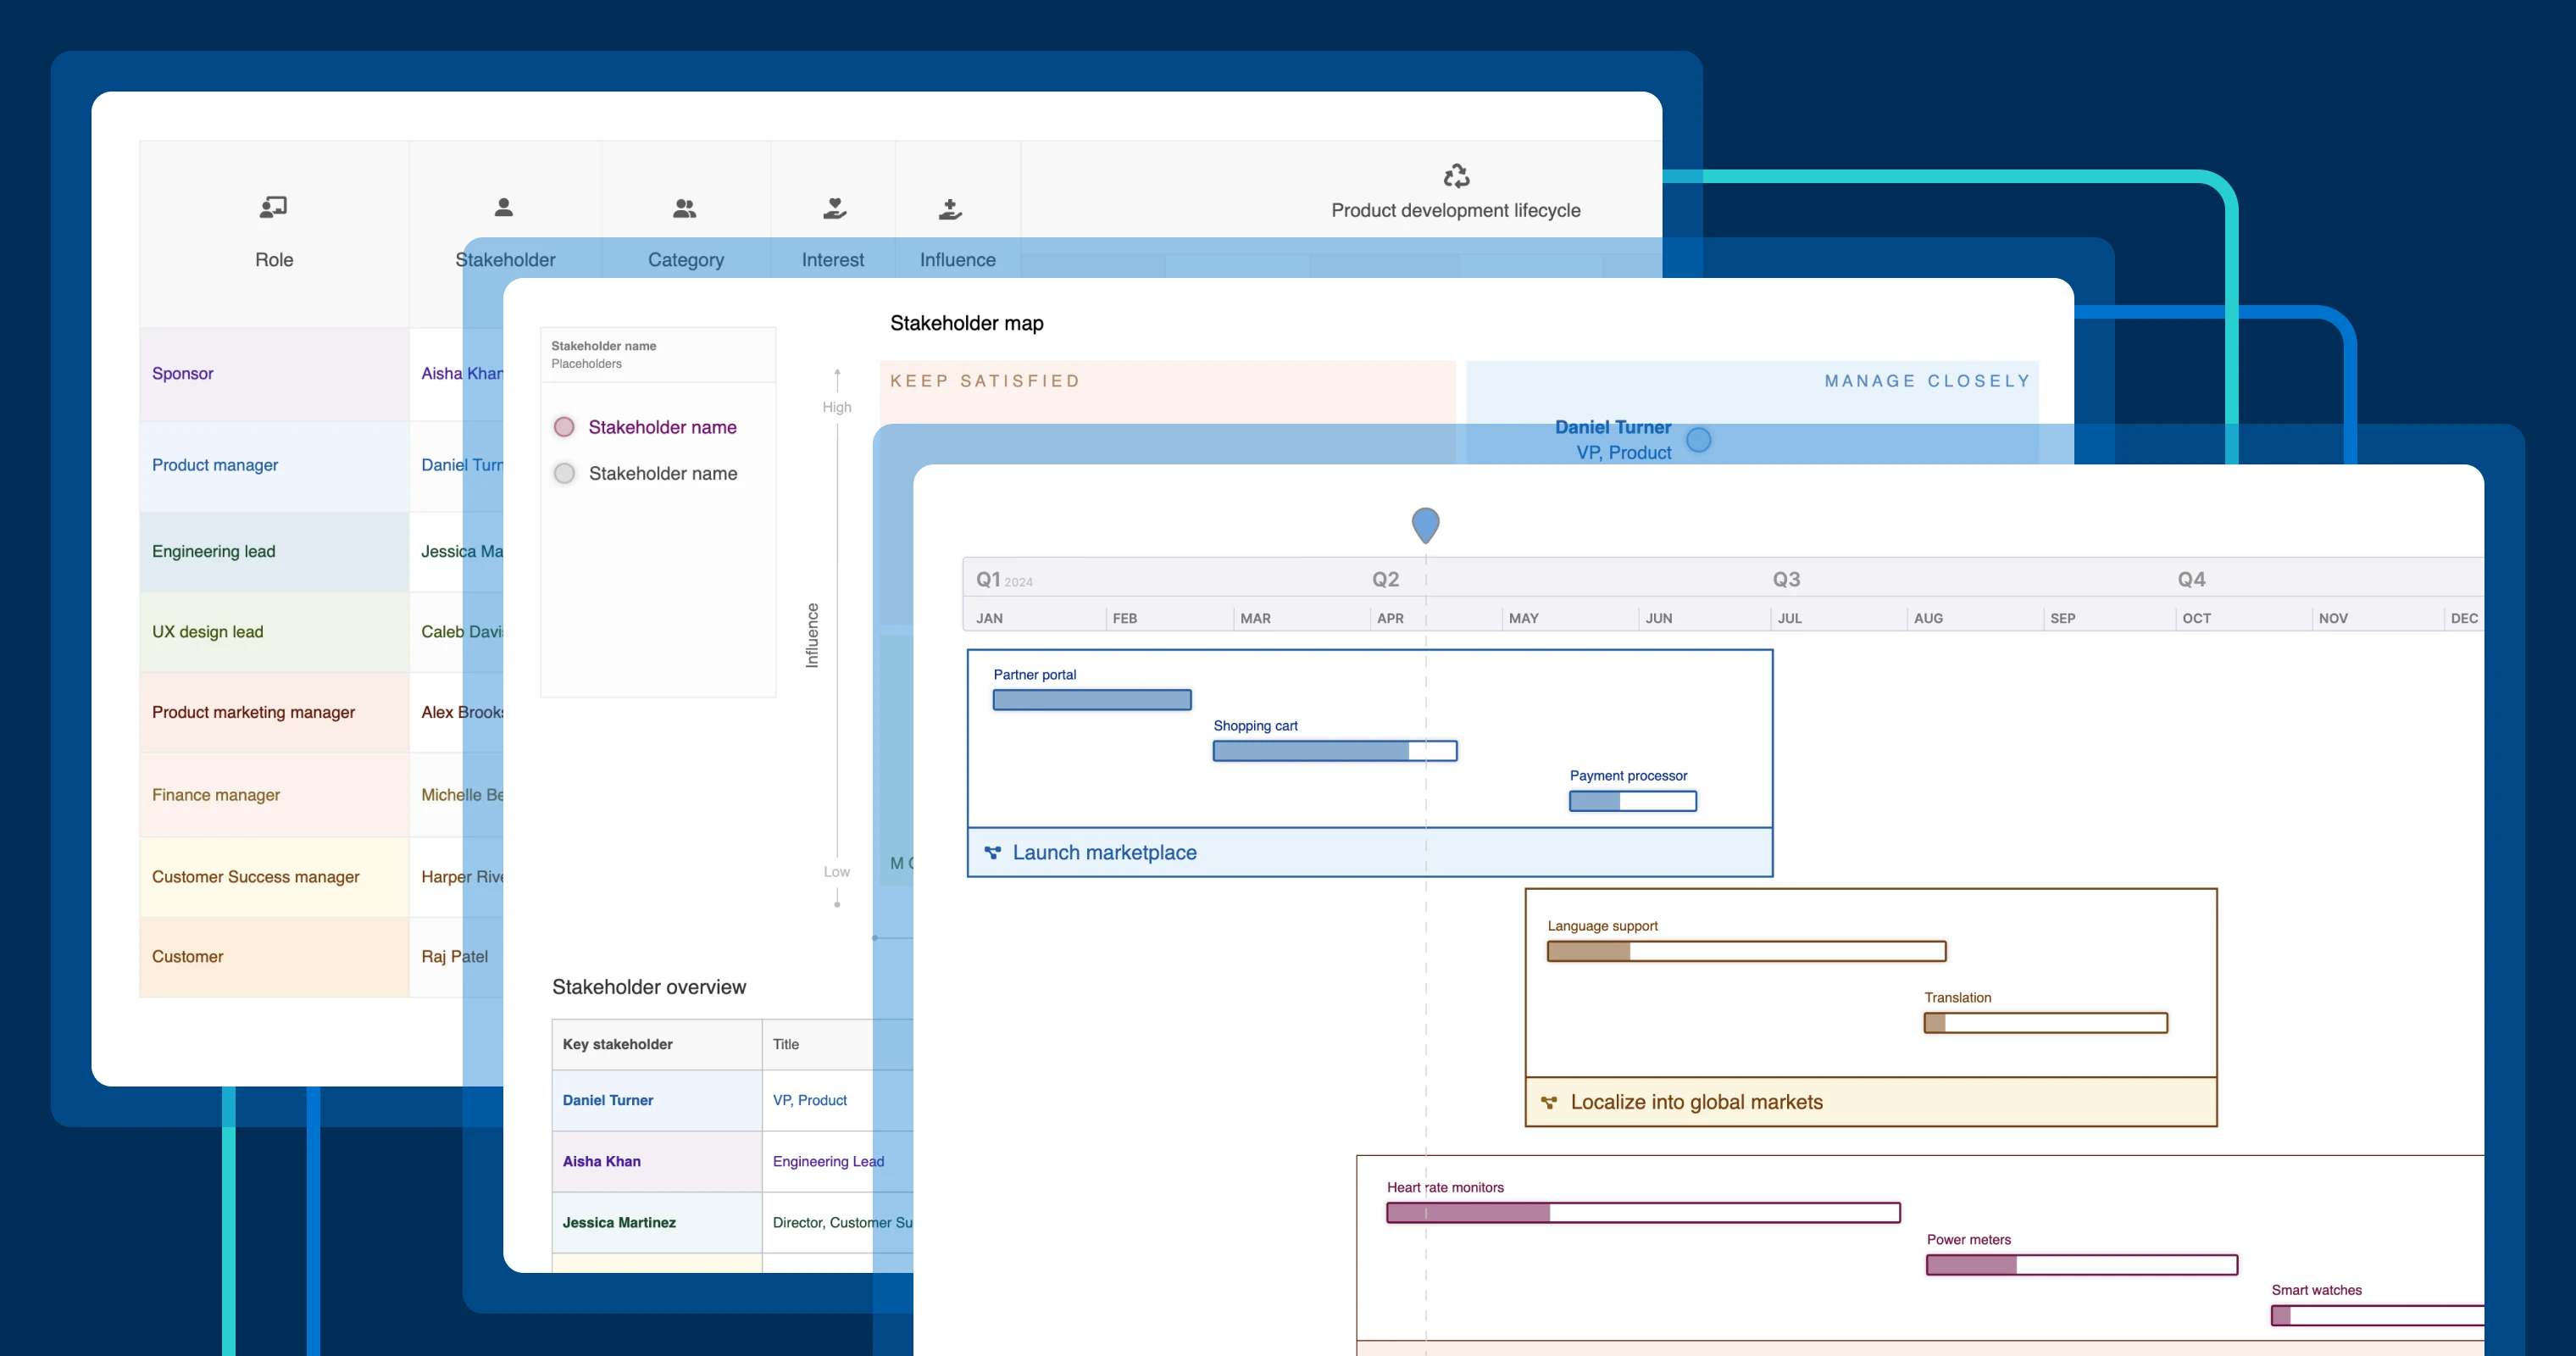
13. Save time on timelines. Add this custom shape with your own dates, or select the pre-set windows. You can adjust the timeline increments to be Quarters, Months, Weeks, or Days in a couple clicks.
14. Add a progress bar to show (you guessed it) your progress. Drag the handle below the progress bar to adjust the fill.
Draft a quick roadmap on a whiteboard, then use progress bars to show where features are at.
Style
15. Feel like your eyes are playing tricks on you? Toggle on grid lines to get precise alignment.
16. Select multiple objects, then right-click and select Align to tidy things up into neat rows or columns.
17. When you have gotten a style to be the way you want it, right-click the object and click Copy style. Then, right-click new objects and select Paste style to replicate the colors and other visual details.
18. Customize designs with more than 1,500 icons available in the Shapes menu.
19. Embed videos and GIFs for added flair.
20. To make quick edits to an image, use the clip tool to cut out, click, and drag to move. The background will "self-heal" and fill in to match the surrounding area — like the piece you clipped was never there.
21. Wireframing can happen right in whiteboards — with built-in components for devices, controls, navigation, and more. (There is so much you can do here. So we thought wireframes deserved their own collection of tips).
Share
22. Ready to show off your whiteboard? Lock editing on objects (or the whole thing) to prevent accidental changes during a collaborative session.
23. Invite your team to leave feedback with inline commenting and emoji reactions.
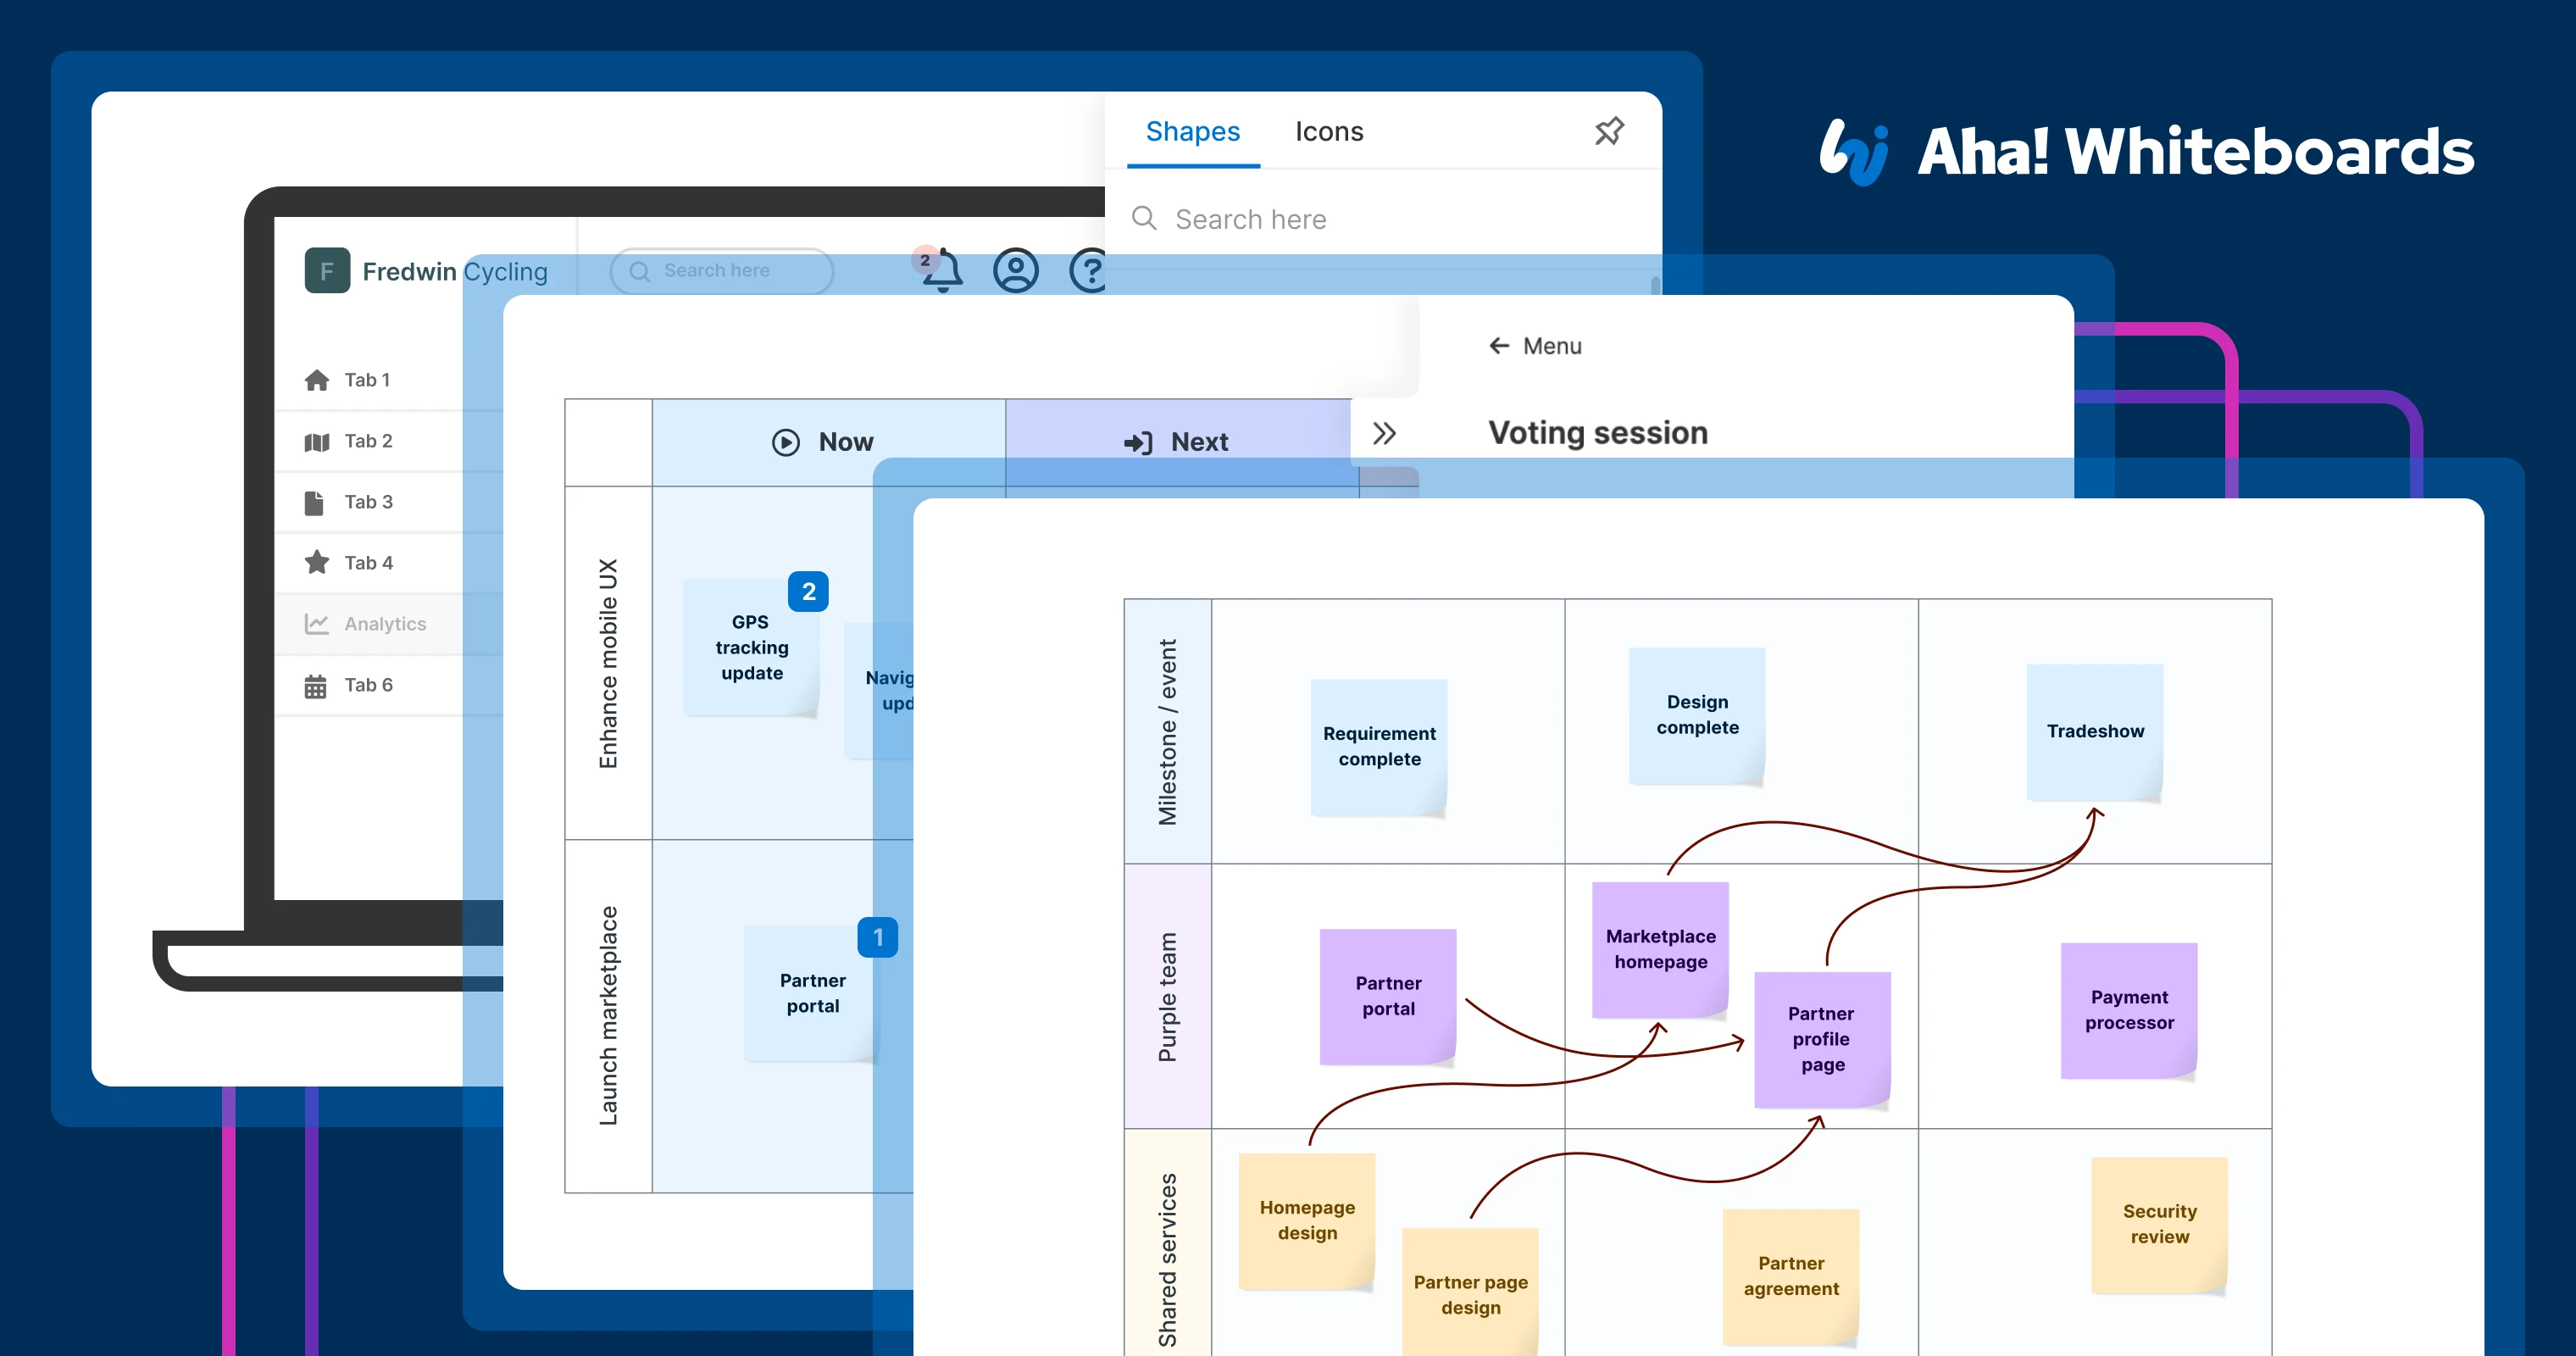
24. Get feedback even faster with a timed voting session.
25. If you are not sure who wrote what, right-click to Show note author on sticky notes.
26. You can also check out your whiteboard's history to track changes.
27. When you land on a layout everyone loves, save your whiteboard as a custom template for the team to use.
28. For a more formal way to share your whiteboard, shift into presentation mode. You can flip between frames like slides.
29. The more stakeholders, the merrier (or the more informed, at least). Invited unlimited guest viewers to your whiteboard for free.
Use with Aha! Roadmaps
This last batch of tips is for people who use Aha! Whiteboards as part of their Aha! Roadmaps account.
30. Add a whiteboard anywhere — in a note, feature requirement, and most other places you see a description field (plus the Research tab, too).
31. Copy and paste the link to any Aha! record directly on your whiteboard and see it appear as a card.
32. To bring in records en masse, simply export a list report of features, ideas, or other items to a whiteboard.
33. Edit Aha! records right on your whiteboard in the usual drawer view.
34. Need more details? Right-click on a blank space on the canvas or open the More options menu. Select Show dependency lines to see how records relate on your whiteboard.
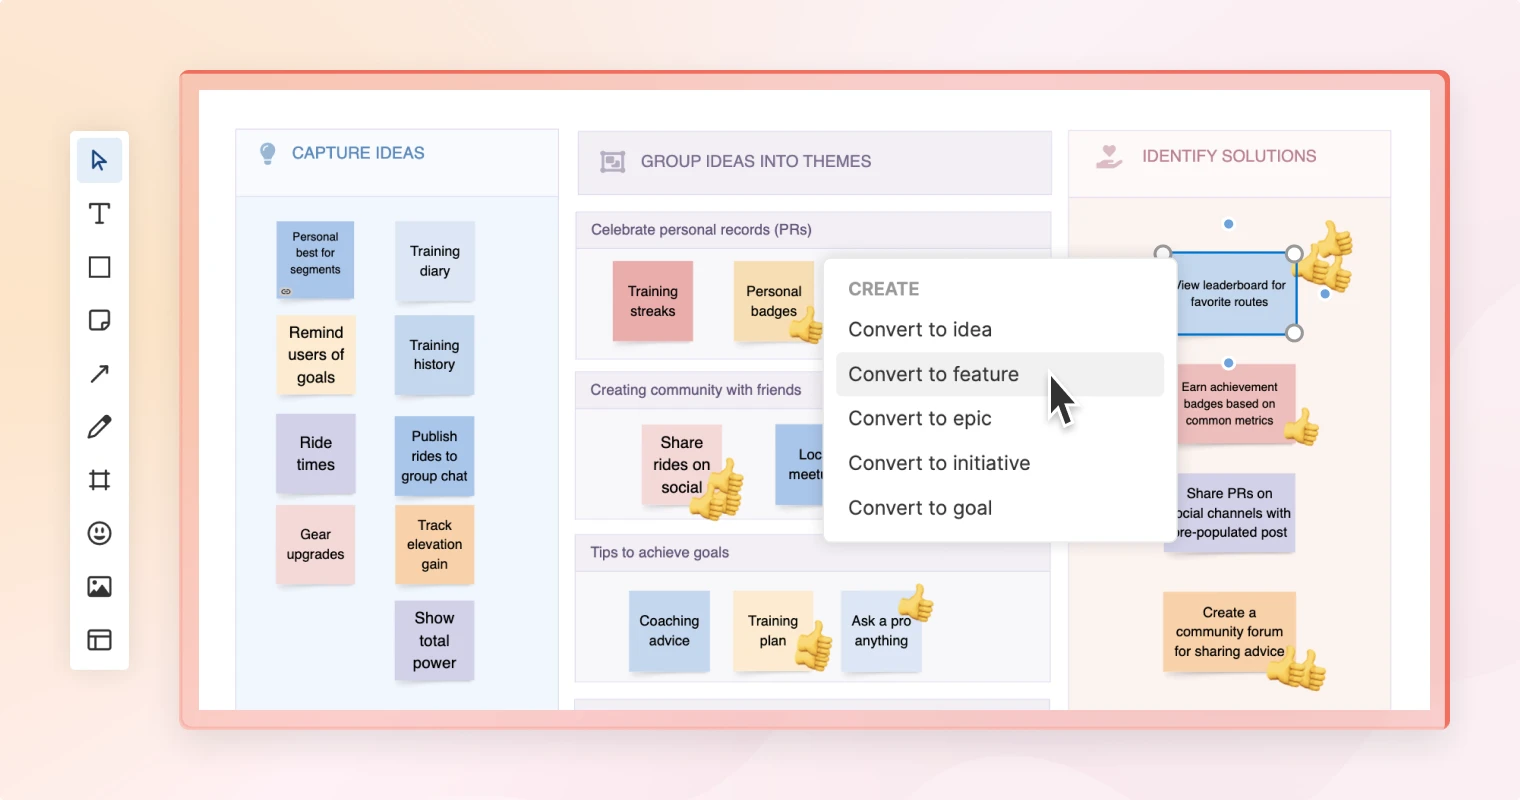
35. You can go from roadmap to whiteboard (and back again). Convert any whiteboard items straight to ideas, features, epics, initiatives, or goals — so the transition from visual collaboration to structured product plans is seamless.
These Aha! Whiteboards tips will have you feeling like a superuser — creating designs that dazzle while taking less time to do it.
More is on the way for Aha! Whiteboards. (Maybe we will do part two of this collection — stay tuned.) Until then, keep up with the latest in our knowledge base and sign up to learn about new go-to-market releases in your inbox. We will be cheering for you on your way to whiteboard greatness!
Start a free trial today
Our suite of tools includes Aha! Roadmaps, Aha! Ideas, Aha! Whiteboards, Aha! Knowledge, and Aha! Develop. Use each product individually or combined to help teams deliver even greater value. Sign up for a free 30-day trial or join a live demo to see why more than 1 million product builders trust our software to build lovable products and be happy doing it.