Add sections to your homepage
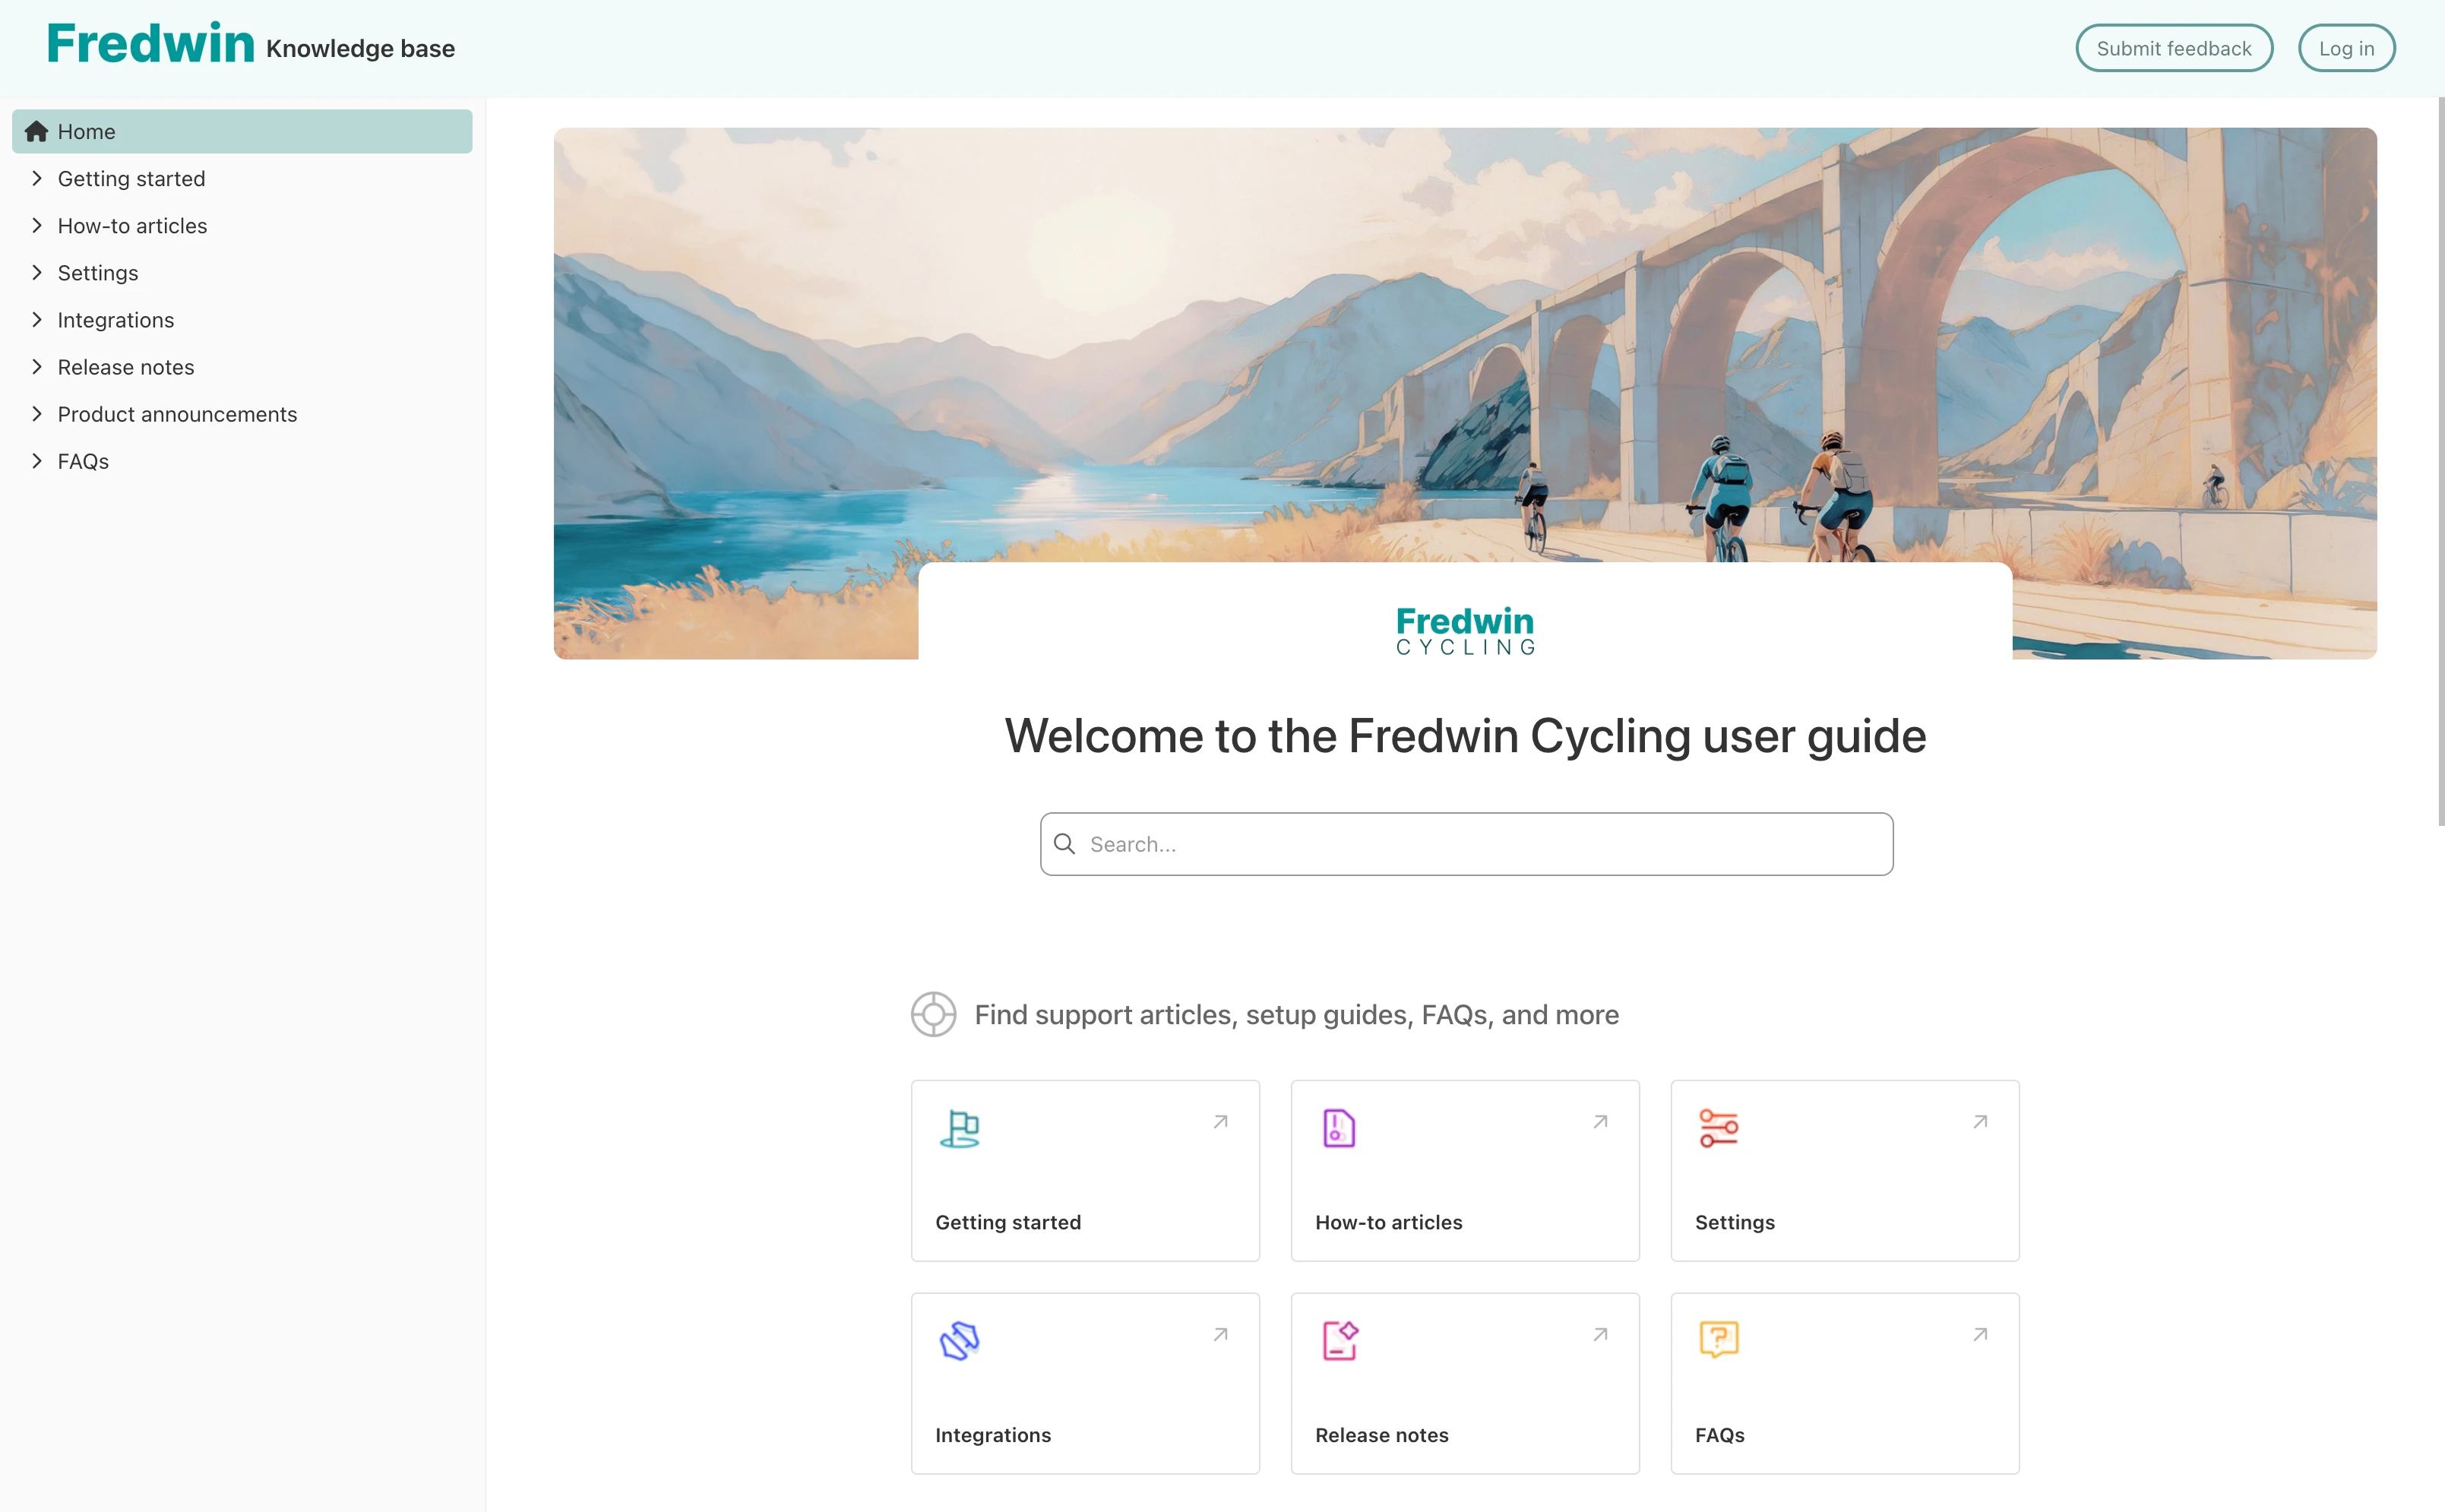
Featured sections help visitors find the content they need and give you an opportunity to promote information they might otherwise miss. Think of each section as a thematic group of links — for example, you might highlight popular topics, recent product launches, or a "getting started" section to help orient new users.
Each section contains links. Links can point internally to folders or documents within your knowledge base or externally to resources such as your ideas portal, the support team's ticketing platform, or your customer forum.
You can add as many sections to your knowledge base as you want. When you have multiple sections, you can drag and drop them into the order you prefer.
To add a section:
Click Add section.
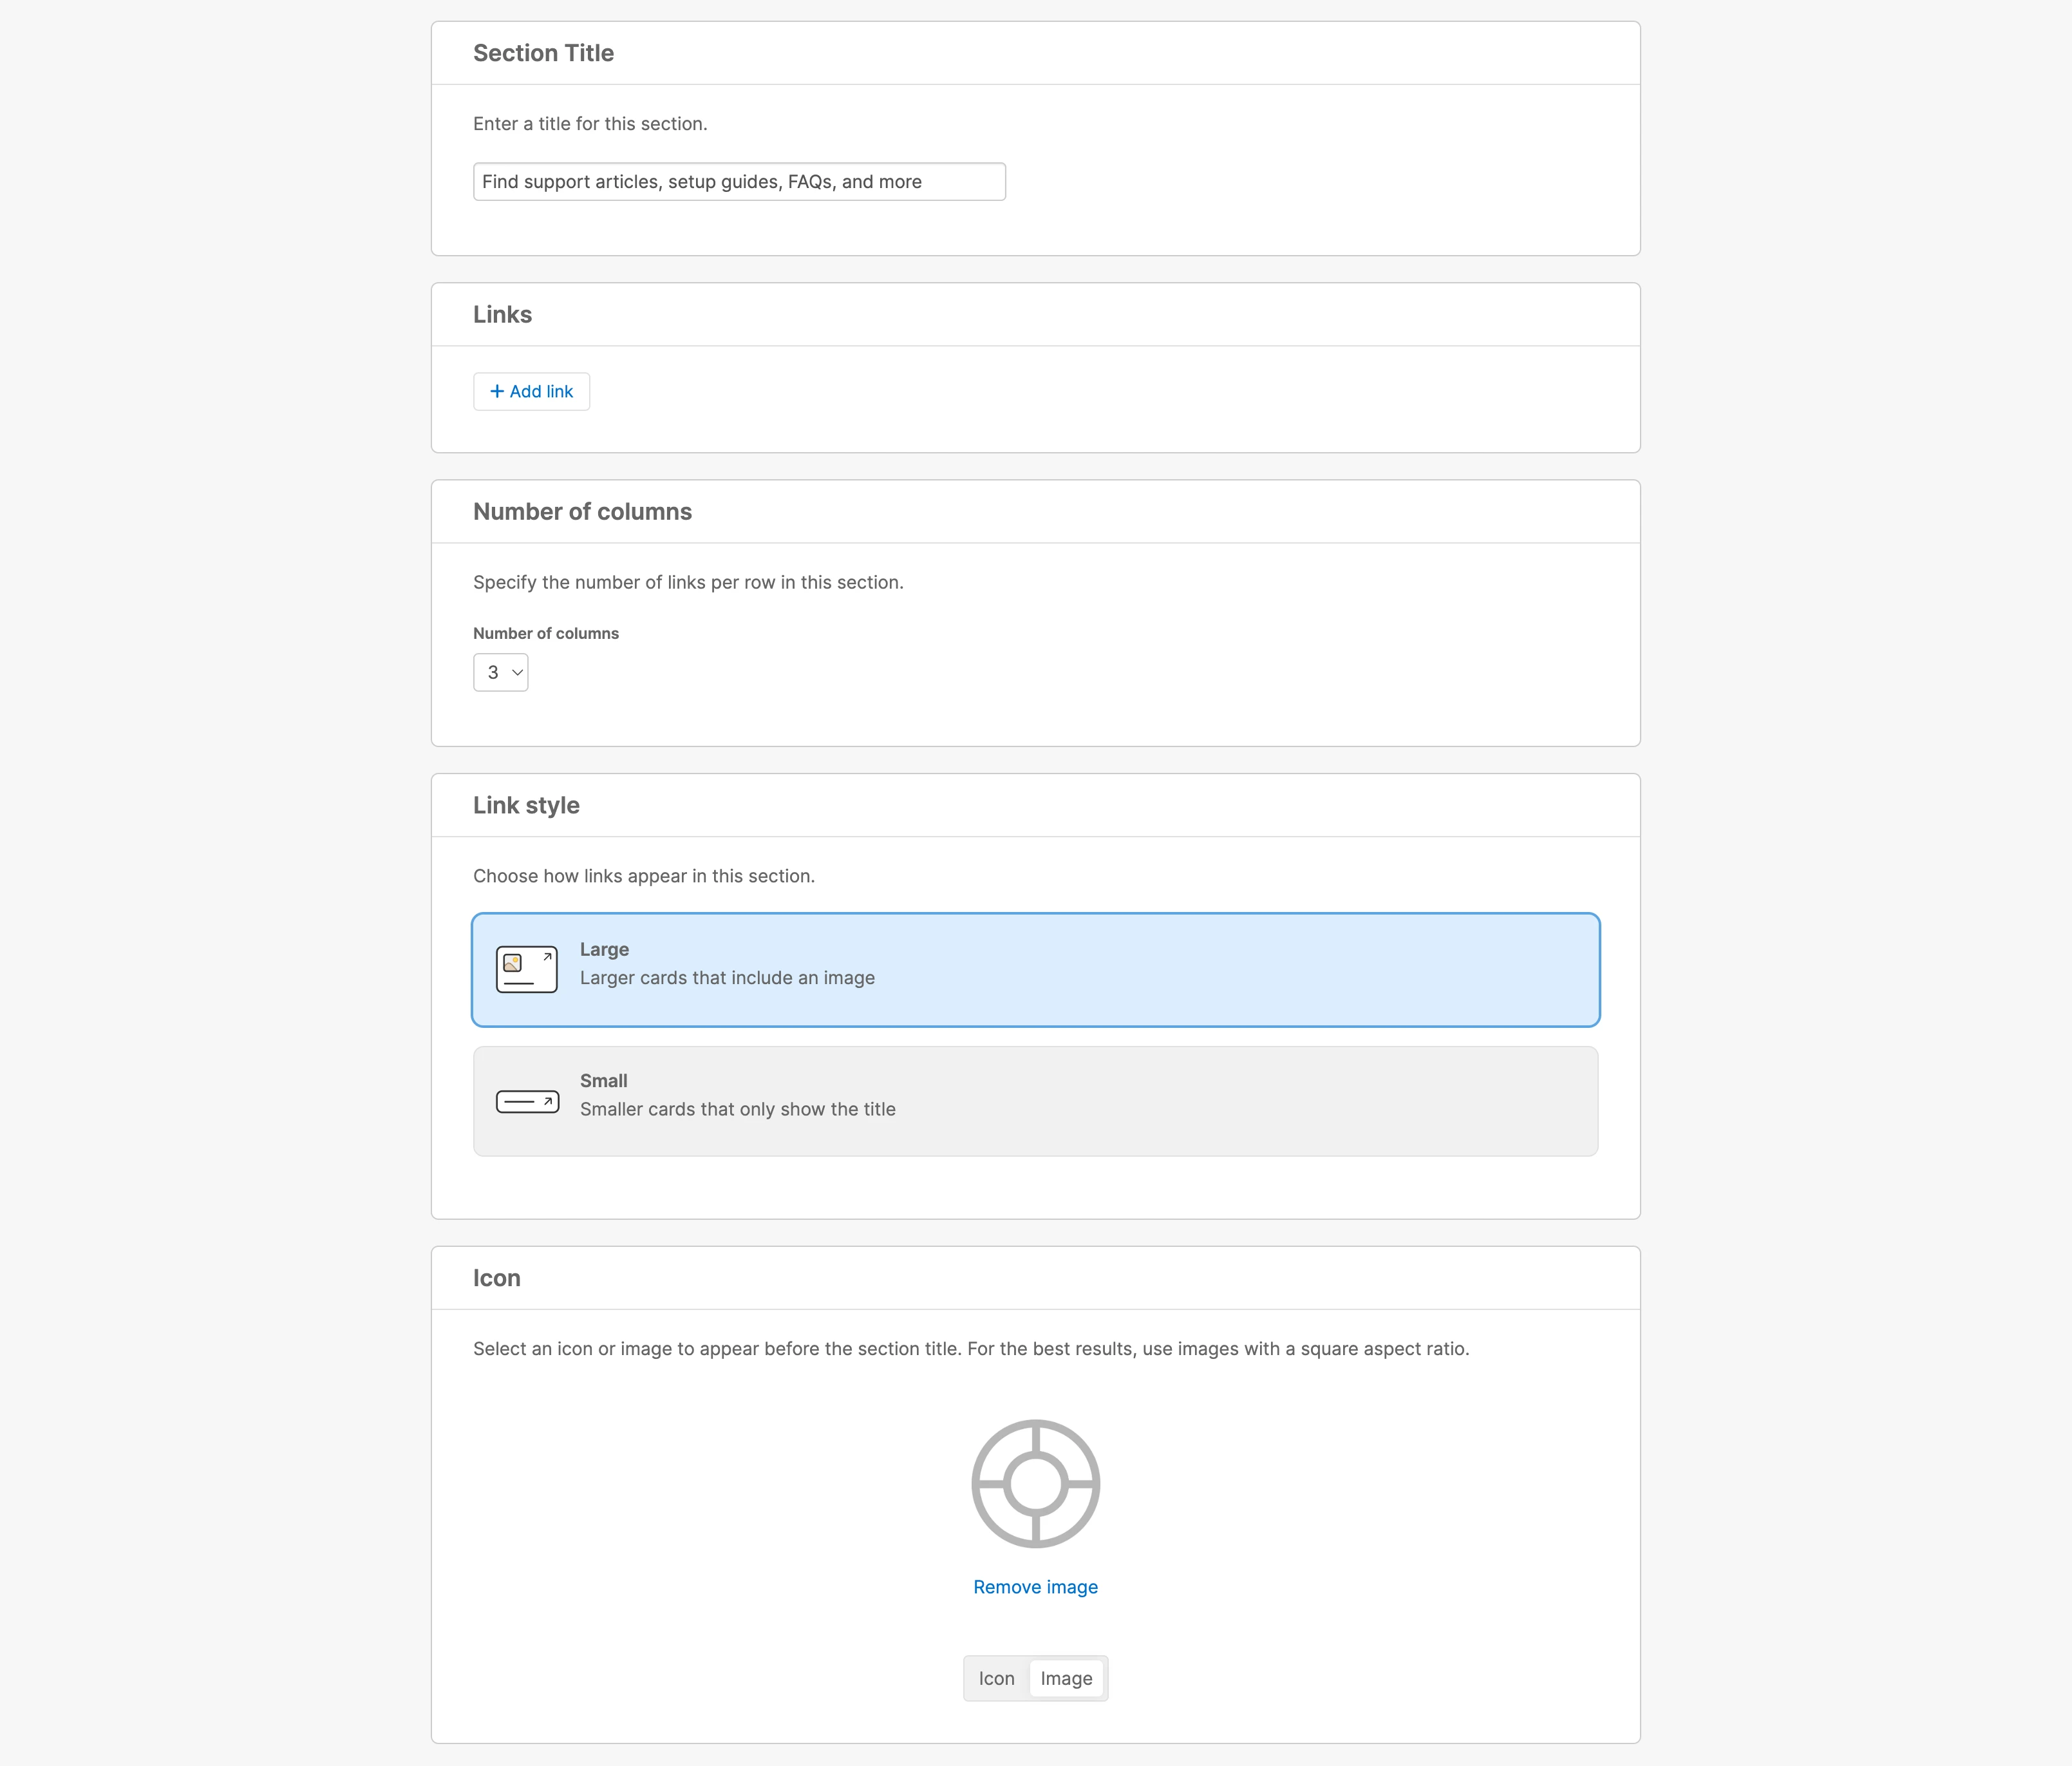
Enter a Section title.
Scroll down and select a Number of columns. This determines how many links will appear per row in your section. You can have between two and five columns.
Under Link style, choose between Large or Small cards. The card is what represents your link.
Upload an icon for your section (optional).
Next, add links to your section:
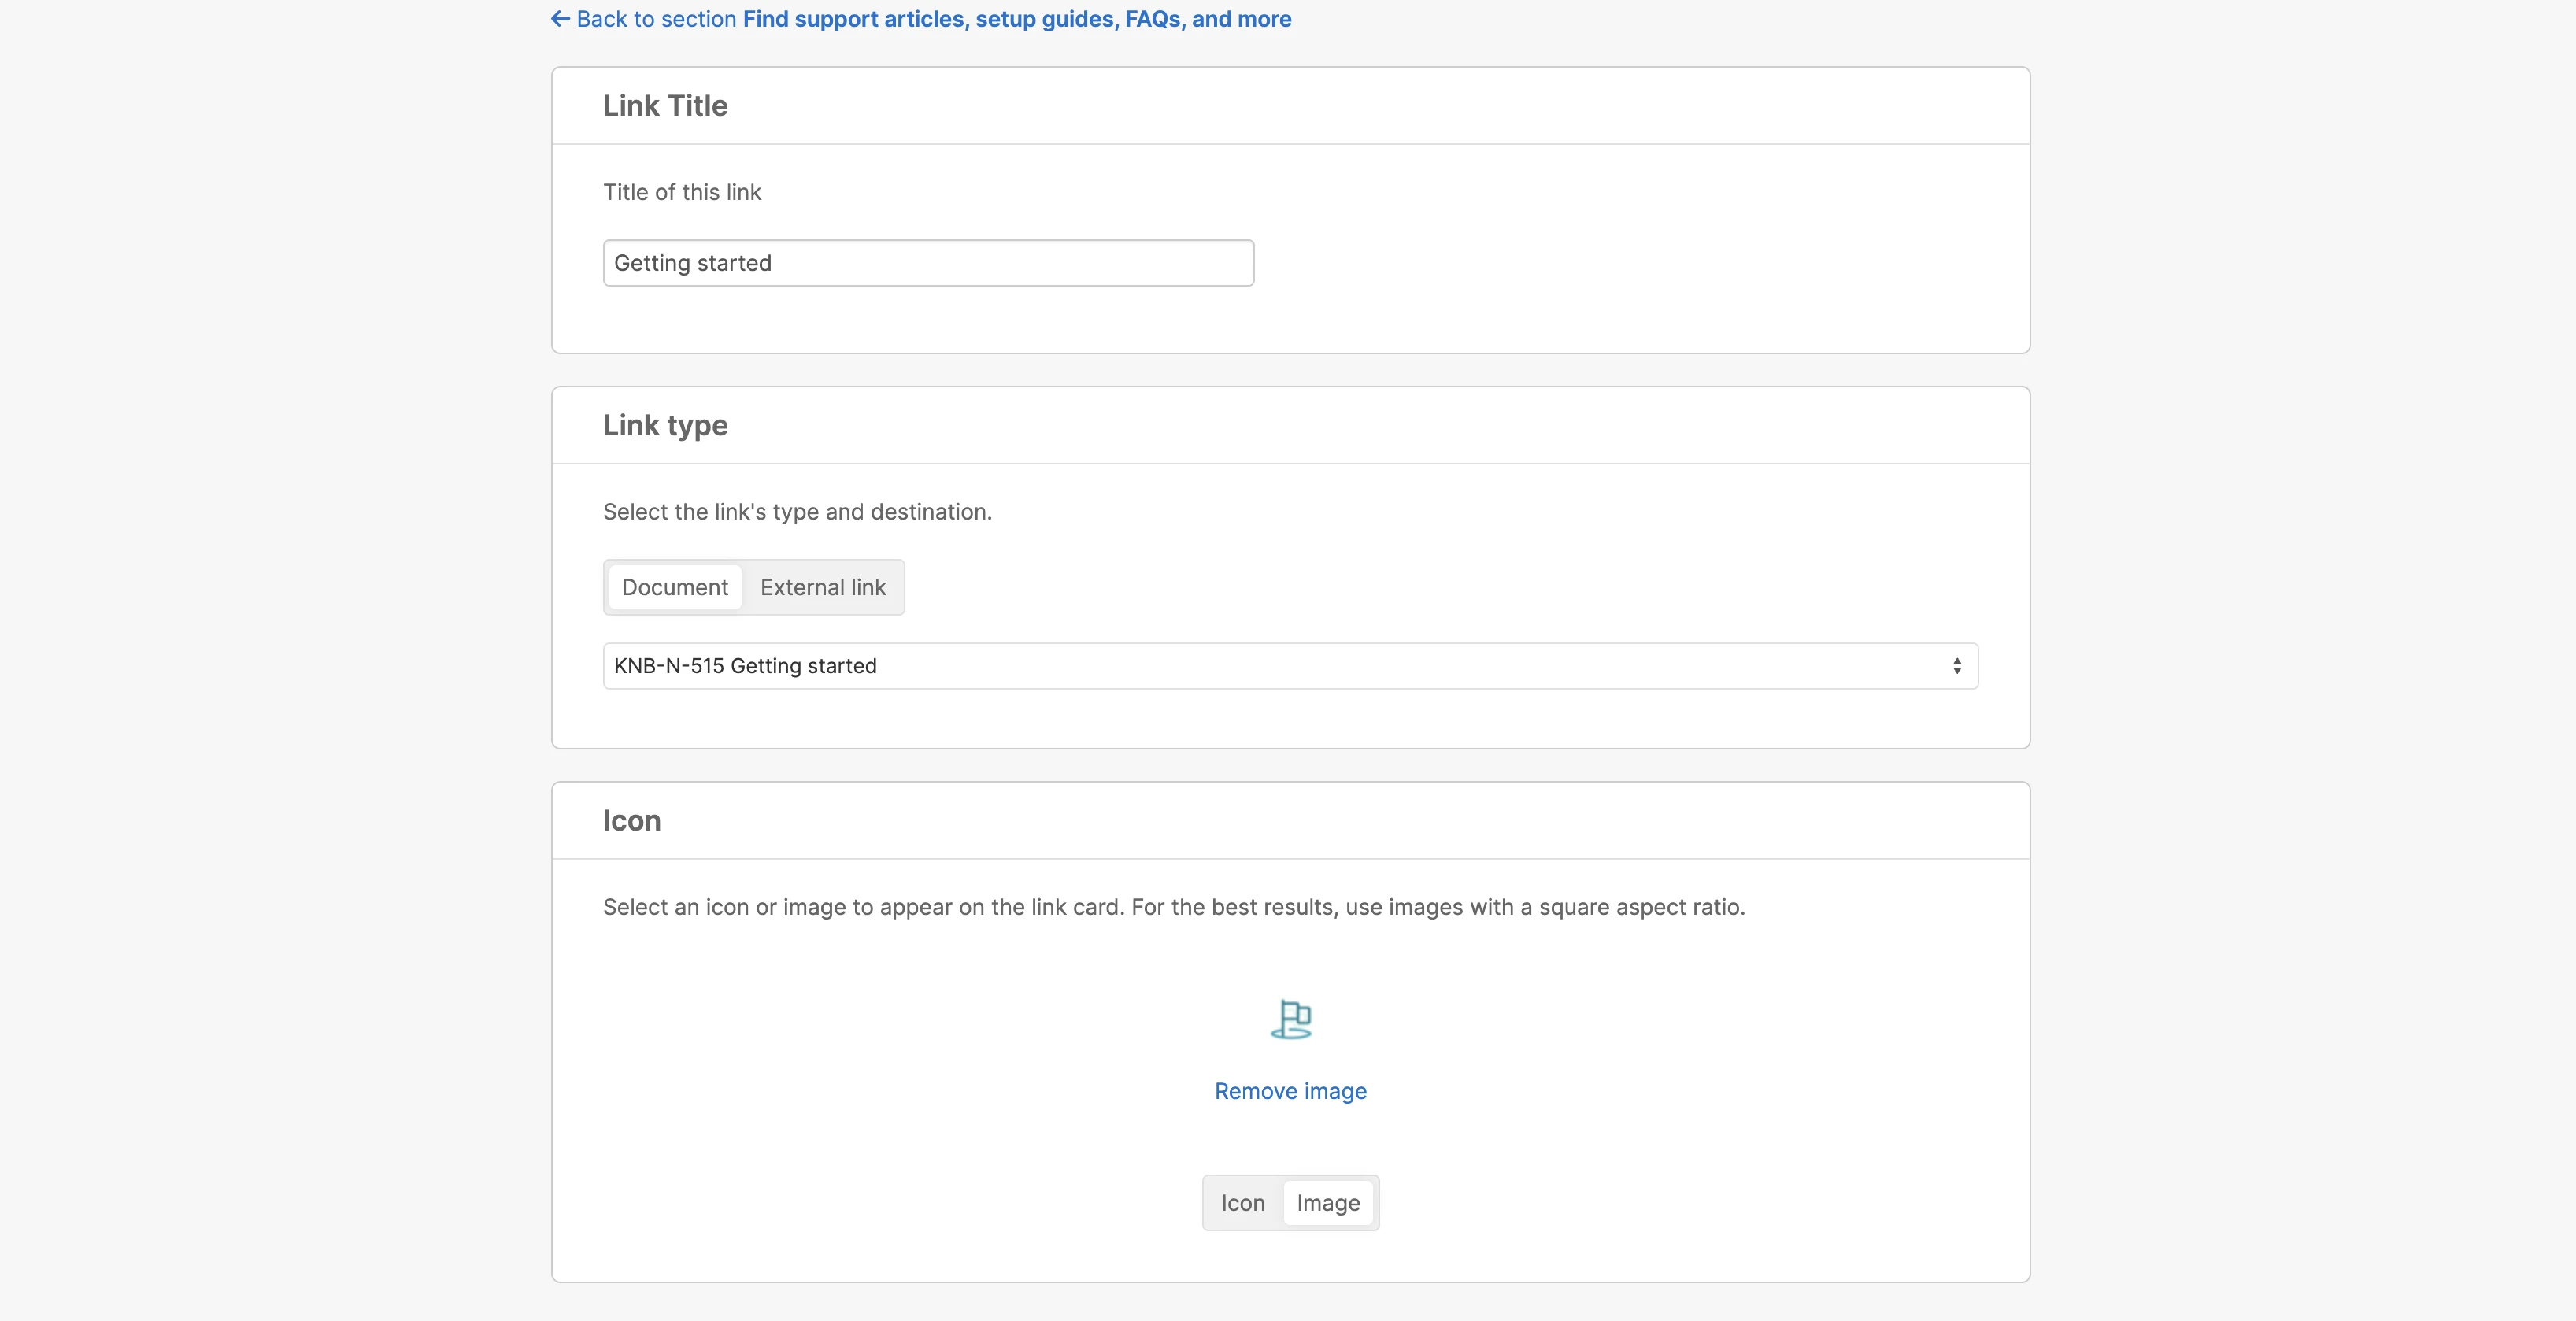
Scroll back to the top of the section's settings and click +Add link. Enter a Link title.
Next to Link type, select Document or External link and enter a URL.
If you select the Large link style when creating your section, you can also upload an Icon or image here (optional).
Click Back to section at the top of the screen and repeat these steps for each link you want to add to the section.
After you add links, you can drag and drop them in the order you prefer them to show on your homepage.
Top