Add media to whiteboards
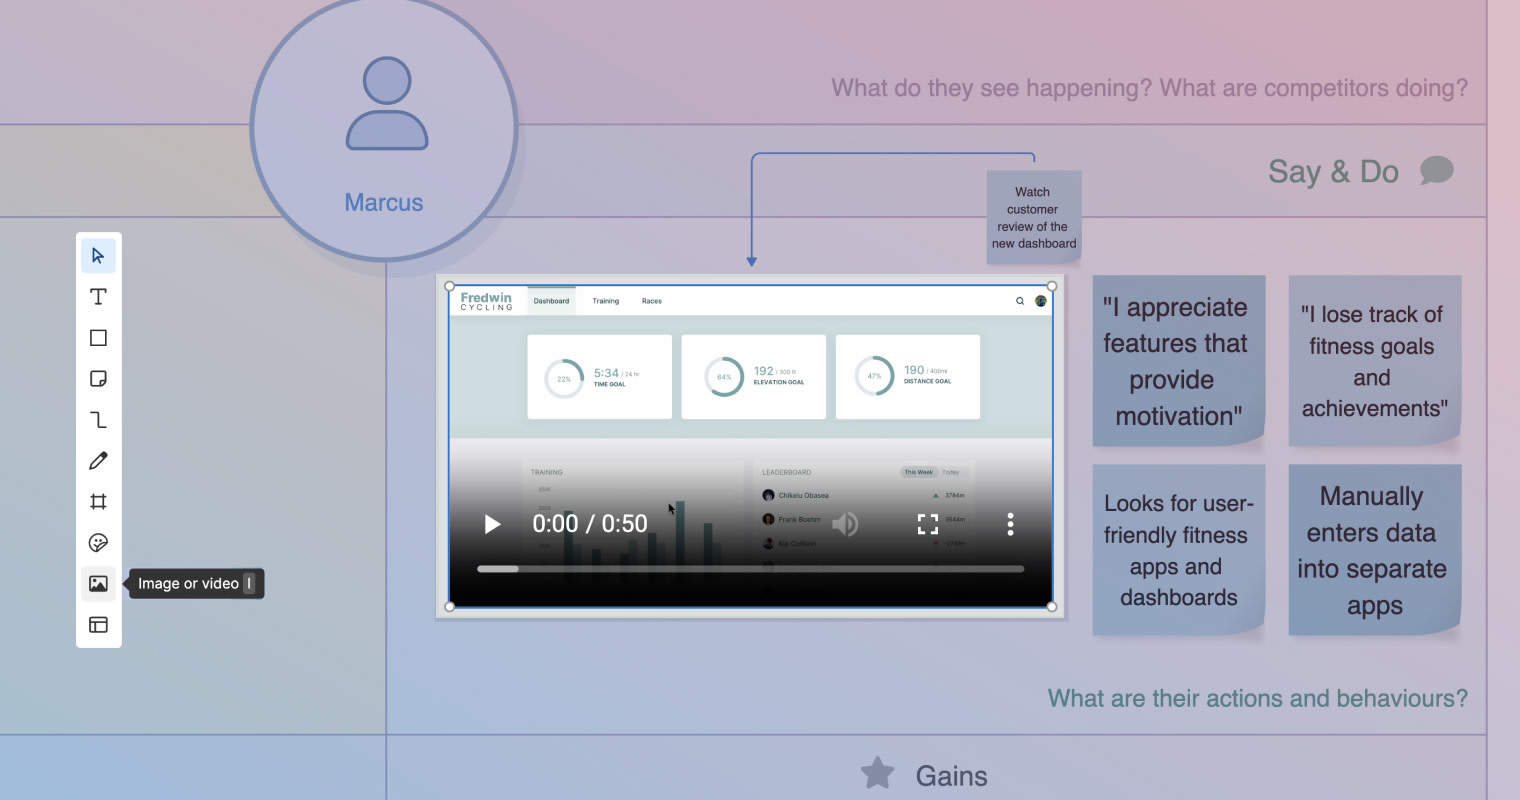
Whiteboards are great for creating user flows and diagrams to show processes and relationships. But sometimes the information you are visualizing on your whiteboard could use some extra context or inspiration to support engagement and collaboration. Add media to your whiteboard to convey complex concepts, demonstrate workflows, and showcase user experiences.

Click any of the following links to skip ahead:
Add media
Click the image icon on your whiteboard's toolbar to add an image, gif, or video. Then select the media file you would like to add.
Once you have added media to your whiteboard, anyone with View access to the whiteboard will be able to see it. Gifs and video files will populate with a play button. People with Edit access to the whiteboard will be able to play media by clicking the play button.
Supported files include .mp4, .gif, .png, and .jpg. Files should be smaller than 300MB.
Edit images
Insert images to add context to whiteboard content or create quick, easy mockups.
Upload an image using the Image tool on your whiteboard's toolbar, drag and drop an image file onto your whiteboard, or use copy and paste to insert an image on your whiteboard. From there, you can edit it using the image's toolbar.
Supported file types include .png and .jpg.
Icon | Name | Function |
| Opacity | Edit an image's opacity and overlay |
| Crop | Crop an image |
| Clip | Clip parts of an image |
| Export | Export an image |
| Comment | Add a comment to an image |
| Lock | Lock an image to your whiteboard |
| More options |
|
Edit opacity and overlay
You can edit any image's opacity and add a color overlay from an image's toolbar. Select your image, then select the Opacity icon from the toolbar. Select a standard color or click + to select a custom color (you can enter a hex code for a brand color here), or reset the overlay to transparent. Use the slider to edit the image's opacity.
At full opacity (with the slider all the way to the right), the color overlay will not be visible. As you move the slider to the left to reduce opacity, you will see the color overlay become more vibrant as the image's opacity decreases.
Crop images
Improve the visual quality of an image you have added to your whiteboard by cropping your image. To crop an image, click the image and select the Crop tool for the image's toolbar. Then slide the handles on the border of your image to your desired dimensions. Deselect the Crop tool or hit Return on your keyboard when you are finished to accept your cropped image.
Clip images
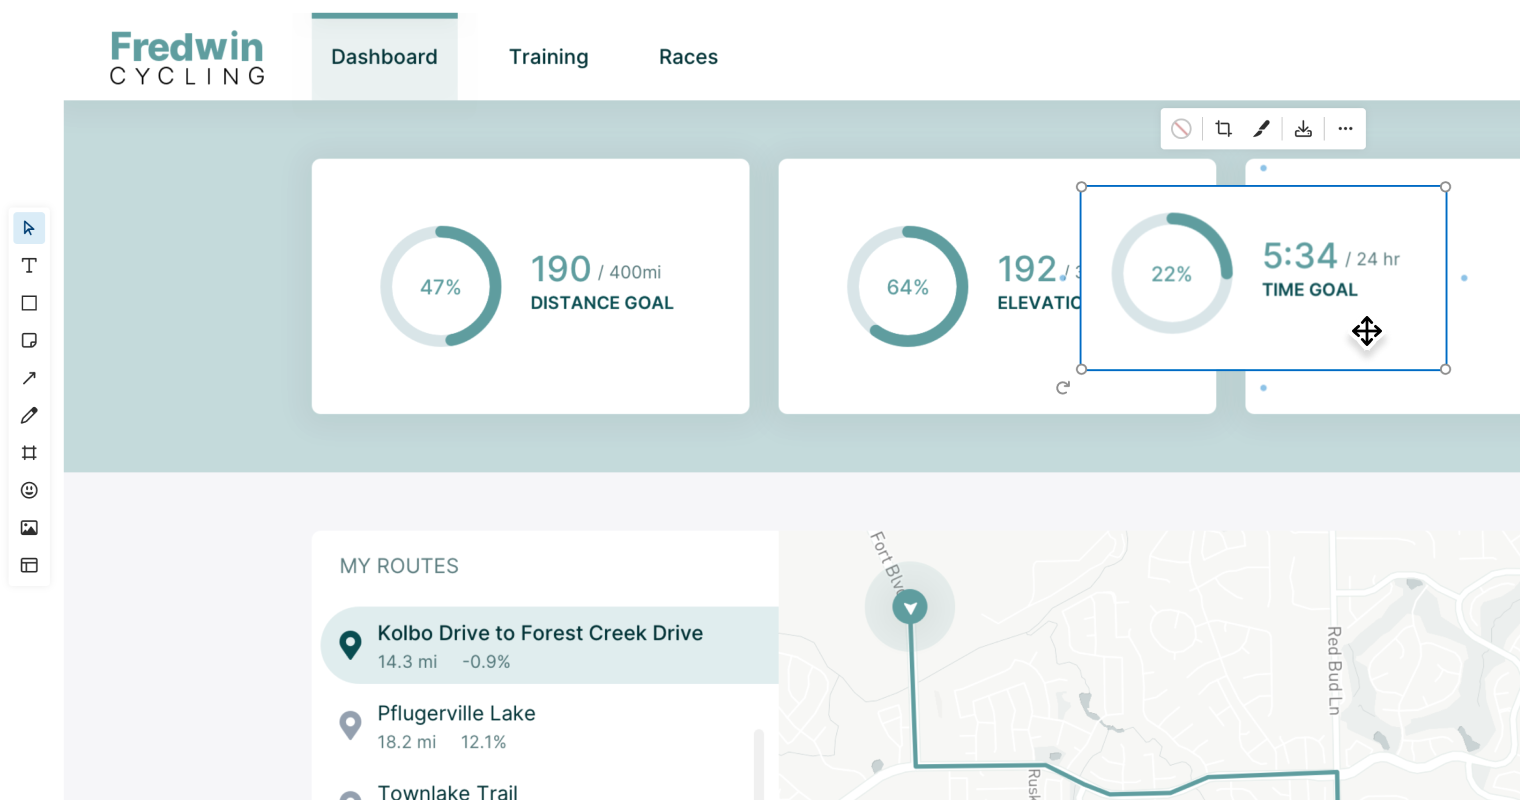
The clip tool is ideal for quickly illustrating a UI change or experimenting with new layouts. Use the clip tool to cut out part of an image, click and drag to move it. When you clip part of an image, the background will "self-heal" and automatically match the surrounding area. This enables you to make changes to images without needing to use another design tool.

To use the clip tool:
Add an image to your whiteboard.
Select the clip tool from the image toolbar.
Draw a rectangle around the area you want to clip.
Drag the clipped area wherever you want to place it or use the Delete key to remove it.
After you have clipped part of an image, it becomes its own object — you can resize it, group it with other objects, copy and paste it, or move it independently around your whiteboard.
Export an image
Save any image added to a whiteboard for later use. You can export any image added to whiteboards that you have permission to edit. Click an image and select the Export icon on the image's toolbar to export the image to your computer as a .png file.


