Aha! Roadmaps | Aha! views in presentation slides
Almost every page in Aha! Roadmaps can be added to a presentation by adding one or more views to a slide. Views are snapshots that can be used to show exactly what appears in Aha! Roadmaps on a presentation slide with static data or live updates.
Click any of the following links to skip ahead:
Add views to presentation slides
To add a view to a presentation slide while editing the slide:
Create a presentation or open an existing presentation.
Choose a slide and click Edit slide.
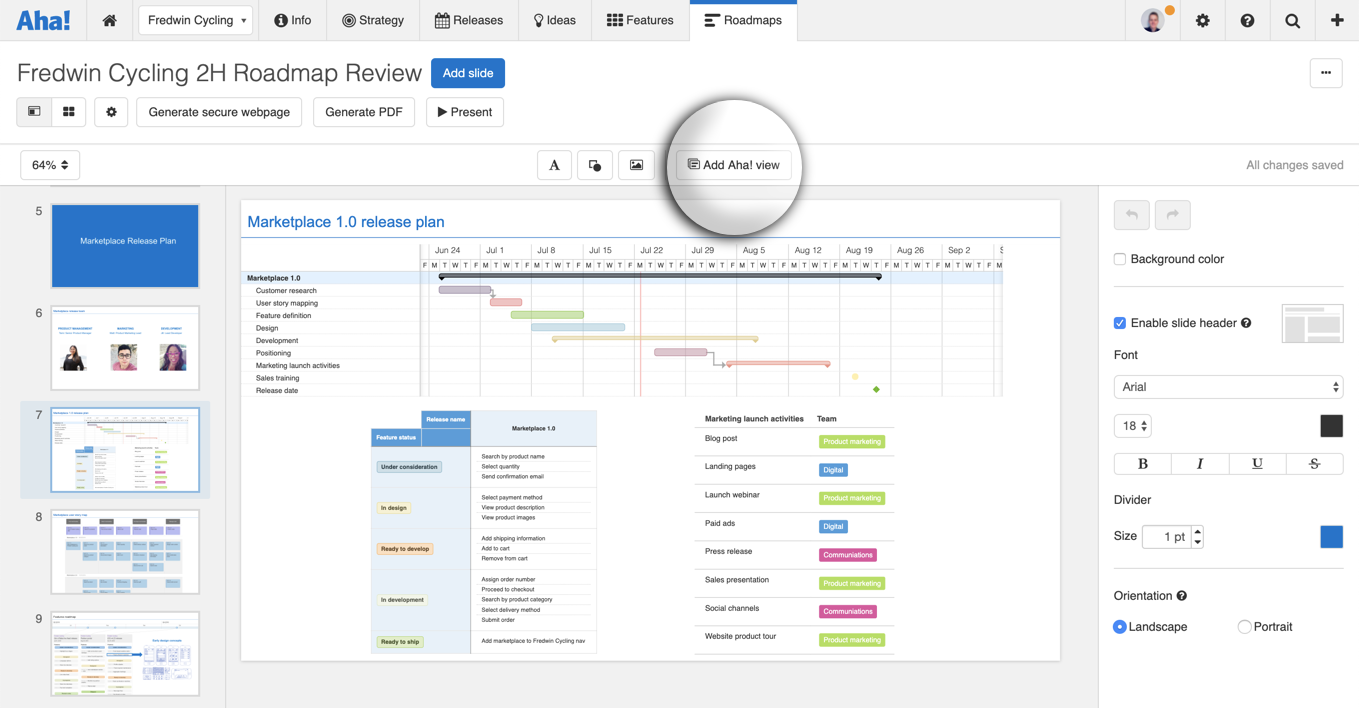
Click the Add Aha! view button on the menu bar.
Choose the functional area, then follow the steps to add the view that makes sense for your workspace(s).
The Add Aha! view button also allows you to add multiple views to a single slide of your presentation.
This enables teams to create single slides in their presentations that call attention to multiple Aha! Roadmaps views, such as highlighting a single important feature while discussing your overall features roadmap, as shown below.

If you want to copy an Aha! view that you have added to a presentation, you can clone the view. Right click on the embedded Aha! view and select Clone view. This will will create a copy of the report and add it to your slide. Use this option if you are creating multiple reports that are similar and would like to add them to your presentation quickly.
To add multiple views, drag a view's borders to drag or resize it. Then click Add Aha! view again and arrange your views on the slide.
Adjust your view's visible fields
When you add the detail view for the following record types to a presentation, you can configure what fields to include in your presentation slide:
Goals
Initiatives
Releases / Schedules
Epics
Features / Activities
Ideas
To adjust your view in a slide, click the view, then click the Visible fields dropdown. This dropdown will show you the fields included in the record's layout, divided into their respective sections. Check or uncheck any box to show or hide a particular field.
Click the Refresh button to reload the view and see your changes.
Adjust a calendar view's visible date range
When you add a calendar view to a presentation, you can configure the date range to show in your presentation slide.
After you have added a calendar view, click it, then adjust the Date range selections. Click the Refresh button to reload the view and see your changes.
Set the update frequency for Aha! views
Some views in your presentation you might want as static images, while others you might want to update manually or automatically so that the presentation stays perpetually up-to-date. Each view in a presentation can have its own update frequency.
To do this, click on the Aha! Roadmaps view that you wish to update. From the Update frequency settings on the right sidebar select one of three update frequency options.
Live update: Automatically updates the page every time the data is changed in Aha! Roadmaps.
Refresh on update: Only updates the page when the manual Update secure webpage button is clicked.
Manual snapshot: Creates a static, point-in-time reference of the page.
Choose a view's autofit settings
You can also choose the Autofit setting for the selected view to specify how the view will handle data when it overflows the size of the container.
Allow view to overflow container: When this is enabled, the view will grow larger as the content within the view increases.
Shrink view to fit container: When this is enabled, the size of the container is fixed. As content within the view grows larger, the content will decrease in size to fit within the container.
These settings affect the container (the dimensions of the view you added to the slide), not the slide itself. If the view's container overflows the slide's dimensions, the view will as well.